Imagine a visitor landing on your site, excited to explore your content or products. But then, they're met with a loading screen that seems to go on forever. Frustrating, isn't it? This is where the art of speeding up your WordPress site comes into play. A faster website doesn't just keep your visitors happy; it also boosts your search engine rankings, making your site more visible to potential new visitors.
Now, you might be wondering, "How do I achieve this?" Luckily, with some simple optimizations, you can drastically speed up your site. This guide will show you exactly how to configure WordPress for maximum performance. We will cover topics like selecting proper hosting and lightweight themes, installing performance plugins, and optimizing images, and other assets. By the end of our guide on how to speed up a WordPress site, you'll have a lean, mean site that loads almost instantly on any device.
1. Choose a Reliable Hosting Provider
Choosing the right hosting provider is the first step to a fast WordPress site. Hosting is not just about where your site lives, but how well it performs. Think about it: your site's speed, uptime, and ability to handle traffic spikes all depend on your host.
So, what options do you have? There's shared, dedicated, VPS, and managed WordPress hosting. Each has its benefits, depending on your site's needs. Providers like Bluehost and WPEngine, for instance, are great at optimizing for WordPress, offering fast, stable servers and scalability for those traffic surges.
But there's more to consider. Good hosting comes with solid customer support for those tricky moments and server locations close to your audience for quicker load times. In short, your choice of host impacts everything from site speed to user experience. Choose wisely!
Bluehost

Bluehost
When it comes to how to speed up a WordPress site, choosing the right hosting is crucial. Enter Bluehost, a name that’s almost synonymous with WordPress hosting. It's not just about compatibility; it's about optimizing your site for peak performance. Whether you're running a sleek minimalist WordPress theme or a feature-rich business WordPress theme, Bluehost has the tools to support your vision.
Starting from its humble beginnings, Bluehost has grown into a powerhouse, trusted by millions of website owners worldwide. They've fine-tuned their hosting solutions to cater specifically to the needs of WordPress users. This specialization is evident in their seamless integration with WordPress, ensuring that your website benefits from optimized speed, security, and scalability. It's a hosting environment where novice users can comfortably grow their sites, and experienced developers can enjoy robust tools and advanced features.
Bluehost's commitment to WordPress extends beyond just hosting. They actively contribute to the WordPress community, staying ahead of the curve in terms of new features and updates. This deep involvement means they're not just a service provider; they're experts in the platform, understanding the nuances and specific requirements that come with running a WordPress site.
Key Features:
Let's break down why Bluehost stands out:
- User-Friendly Interface: Bluehost’s control panel is designed for ease of use, perfect for both beginners and pros. It simplifies everything from WordPress installation to site management, making it a breeze to maintain your site.
- Optimized for WordPress: Their servers are specifically optimized for WordPress, enhancing the speed and efficiency of your site. This is crucial for WordPress page speed optimization, ensuring faster loading times for your visitors.
- Reliable Uptime and Speed: Bluehost understands the importance of uptime and speed for website success. They offer impressive uptime rates and fast server speeds, crucial for keeping your audience engaged and improving your search engine rankings.
- Comprehensive Support: Bluehost’s 24/7 support is there to help with any WordPress-related queries, from selecting plugins to optimizing images for speed.
How to Purchase Hosting on Bluehost in 7 Steps
Setting up hosting for your WordPress site on Bluehost is a critical step toward ensuring optimal performance and speed. Follow this structured, step-by-step guide to get started:
Step 1: Select a Hosting Plan
Visit Bluehost’s website. Browse through the available hosting plans. Consider your website's needs (e.g., traffic, storage) and select a plan that suits you best.
Step 2: Register or Transfer a Domain
Choose the option to either register a new domain or transfer an existing one. If registering a new domain, check for its availability and select it. For transferring, enter your existing domain name.
Step 3: Complete the Purchase
Fill in your account details, including personal and payment information. Review any additional offerings like domain privacy or security services. Finalize your purchase by confirming the details and completing the payment process.
Step 4: Access Your Hosting Account
Once the purchase is complete, log into your Bluehost account. This dashboard is your control center for managing your hosting settings and website.
Step 5: Set up Your Domain
Link your chosen domain to your hosting account. This is crucial for making your website live and accessible to the public.
Step 6: Configure DNS Settings
Navigate to the DNS settings in your Bluehost account. Follow the prompts to correctly configure your DNS. This ensures your website is findable and accessible online.
Step 7: Install WordPress
Locate the one-click WordPress installation feature in your Bluehost account. Follow the on-screen instructions to install WordPress. Once installed, you can begin customizing your site with themes, plugins, and content.
By following these seven steps, you'll have a solid foundation set up for your WordPress site on Bluehost, paving the way for enhanced speed and optimal performance.
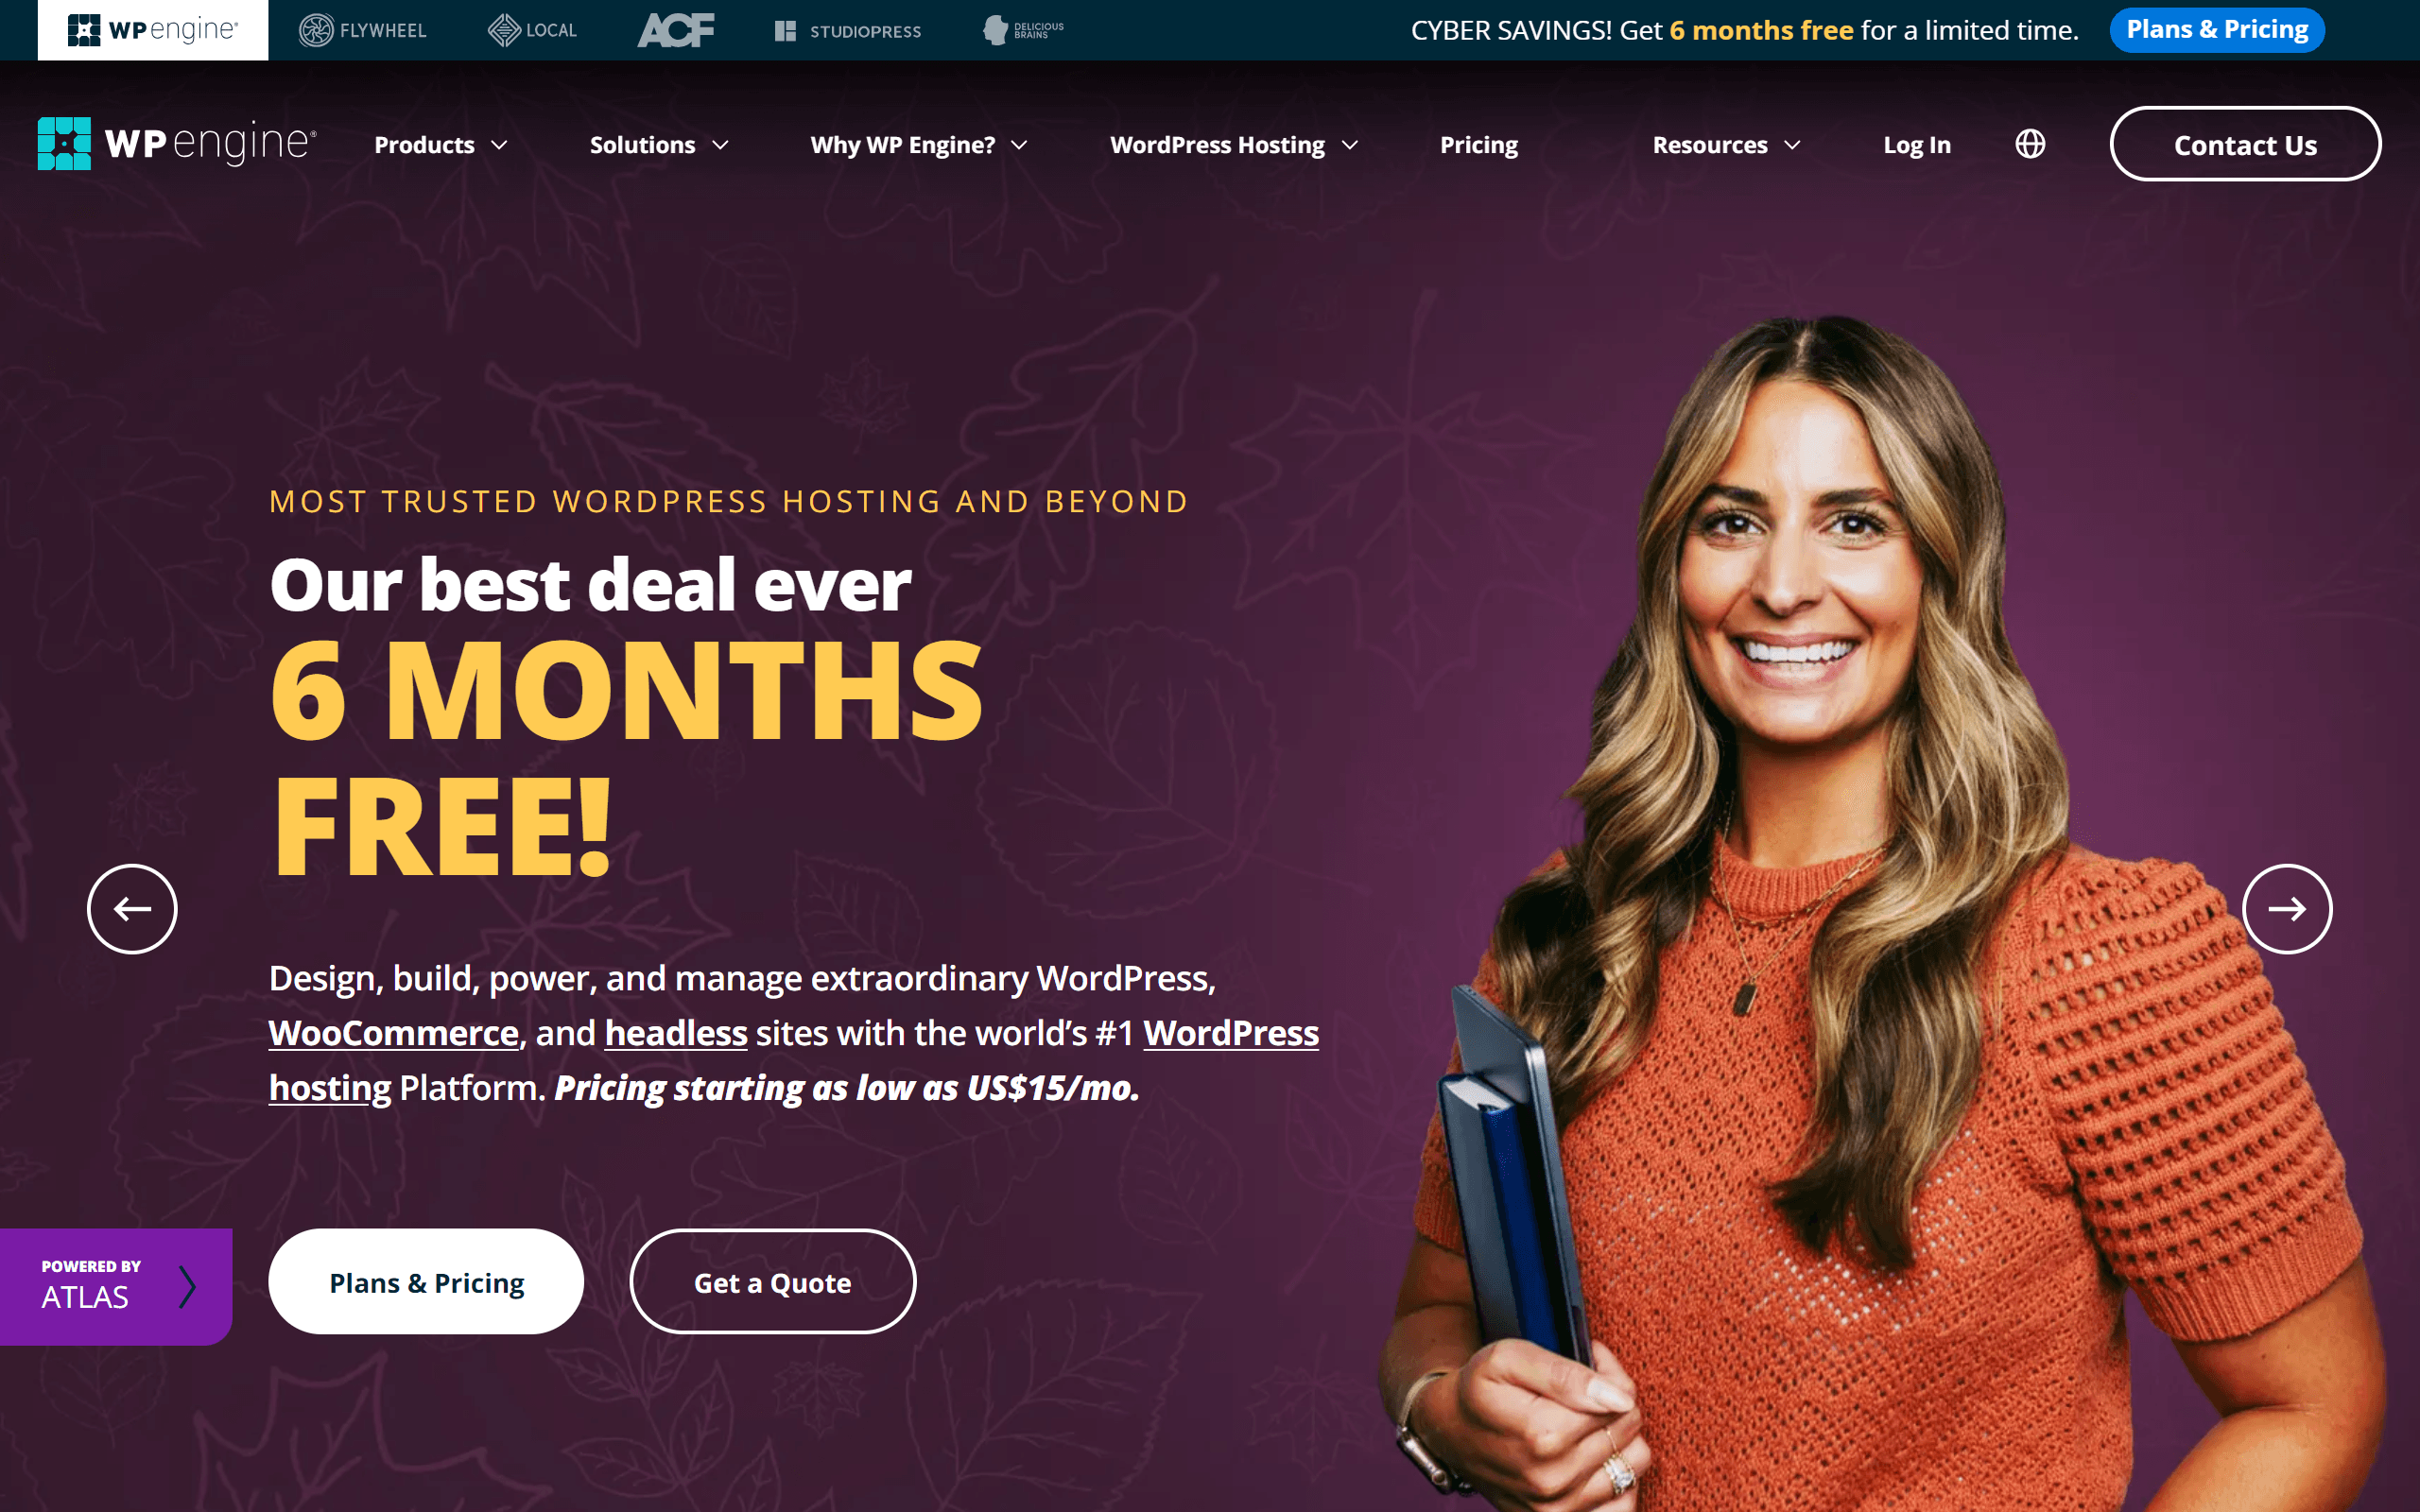
WP Engine
WP Engine
WP Engine stands out as a specialized WordPress hosting provider, catering to businesses and individuals who prioritize website performance and reliability. With a focus solely on WordPress, WP Engine offers a hosting experience that is both refined and efficient, making it a preferred choice for those looking to speed up WordPress site and functionality.
WP Engine differentiates itself through its exclusive focus on WordPress. This dedication allows them to offer a hosting environment that is intricately optimized for WordPress websites. Whether it’s a site with a minimalist WordPress theme or a complex, feature-rich business site, WP Engine provides the necessary infrastructure and tools to ensure optimal performance.
In summary, WP Engine presents a robust and specialized hosting solution for WordPress users. Its focus on optimized performance, security, and developer-friendly tools, coupled with expert WordPress support, makes it a compelling choice for anyone looking to enhance their WordPress site’s efficiency and security.
Key Features:
- Optimized Server Performance: WP Engine’s servers are specifically configured for WordPress, providing fast loading times and enhanced performance. This is especially beneficial for WordPress page speed optimization, directly impacting user experience and SEO rankings.
- Advanced Security Measures: Recognizing the importance of website security, WP Engine offers comprehensive security features. These include automatic threat detection, daily backups, and free SSL certificates, ensuring that your site is protected against common vulnerabilities and threats.
- Developer-Friendly Environment: WP Engine is built with developers in mind, offering advanced tools such as staging environments, Git integration, and one-click restore points. This setup is ideal for safely testing and deploying new features, plugins, or themes without risking the live site's functionality.
- Dedicated WordPress Support: Their customer support team consists of WordPress experts, providing specialized assistance. This can be invaluable for detailed queries related to WordPress performance optimization or specific technical challenges you might encounter.
How to Purchase Hosting on WP Engine in 7 Steps
Setting up your WordPress site with WP Engine is a crucial step towards ensuring its speed and reliability. Here's a straightforward guide on how to purchase hosting on WP Engine in seven easy steps:
Step 1: Select a Hosting Plan
Visit WP Engine’s website. Review the different hosting plans available.
They cater to various needs, from small blogs to large business sites.
Choose the plan that aligns with your site's current needs and future growth.
Step 2: Register or Transfer a Domain
Decide whether you want to register a new domain or transfer an existing one. If you’re registering a new domain, check for its availability and select it. For a domain transfer, enter the details of your existing domain.
Step 3: Complete the Purchase
Provide your personal and billing information. Consider any additional features offered, like extra security or site backup services. Confirm the details and complete the payment process.
Step 4: Access Your Hosting Account
Log into your new WP Engine account. This dashboard is where you will manage your hosting settings and oversee your website’s performance.
Step 5: Set up Your Domain
Connect your domain to your WP Engine hosting account. This step is crucial for making your website accessible online.
Step 6: Configure DNS Settings
Inside your WP Engine account, navigate to the DNS settings section. Follow the instructions provided to configure your DNS correctly. This ensures your site is easily findable and accessible.
Step 7: Install WordPress
Use the one-click WordPress installation feature available in your WP Engine account. Once installed, you can begin to customize your site with themes, plugins, and content.
By following these seven steps, you can successfully set up your WordPress site with WP Engine, laying a strong foundation for enhanced site performance and speed optimization.
2. Use WordPress Theme Swyft
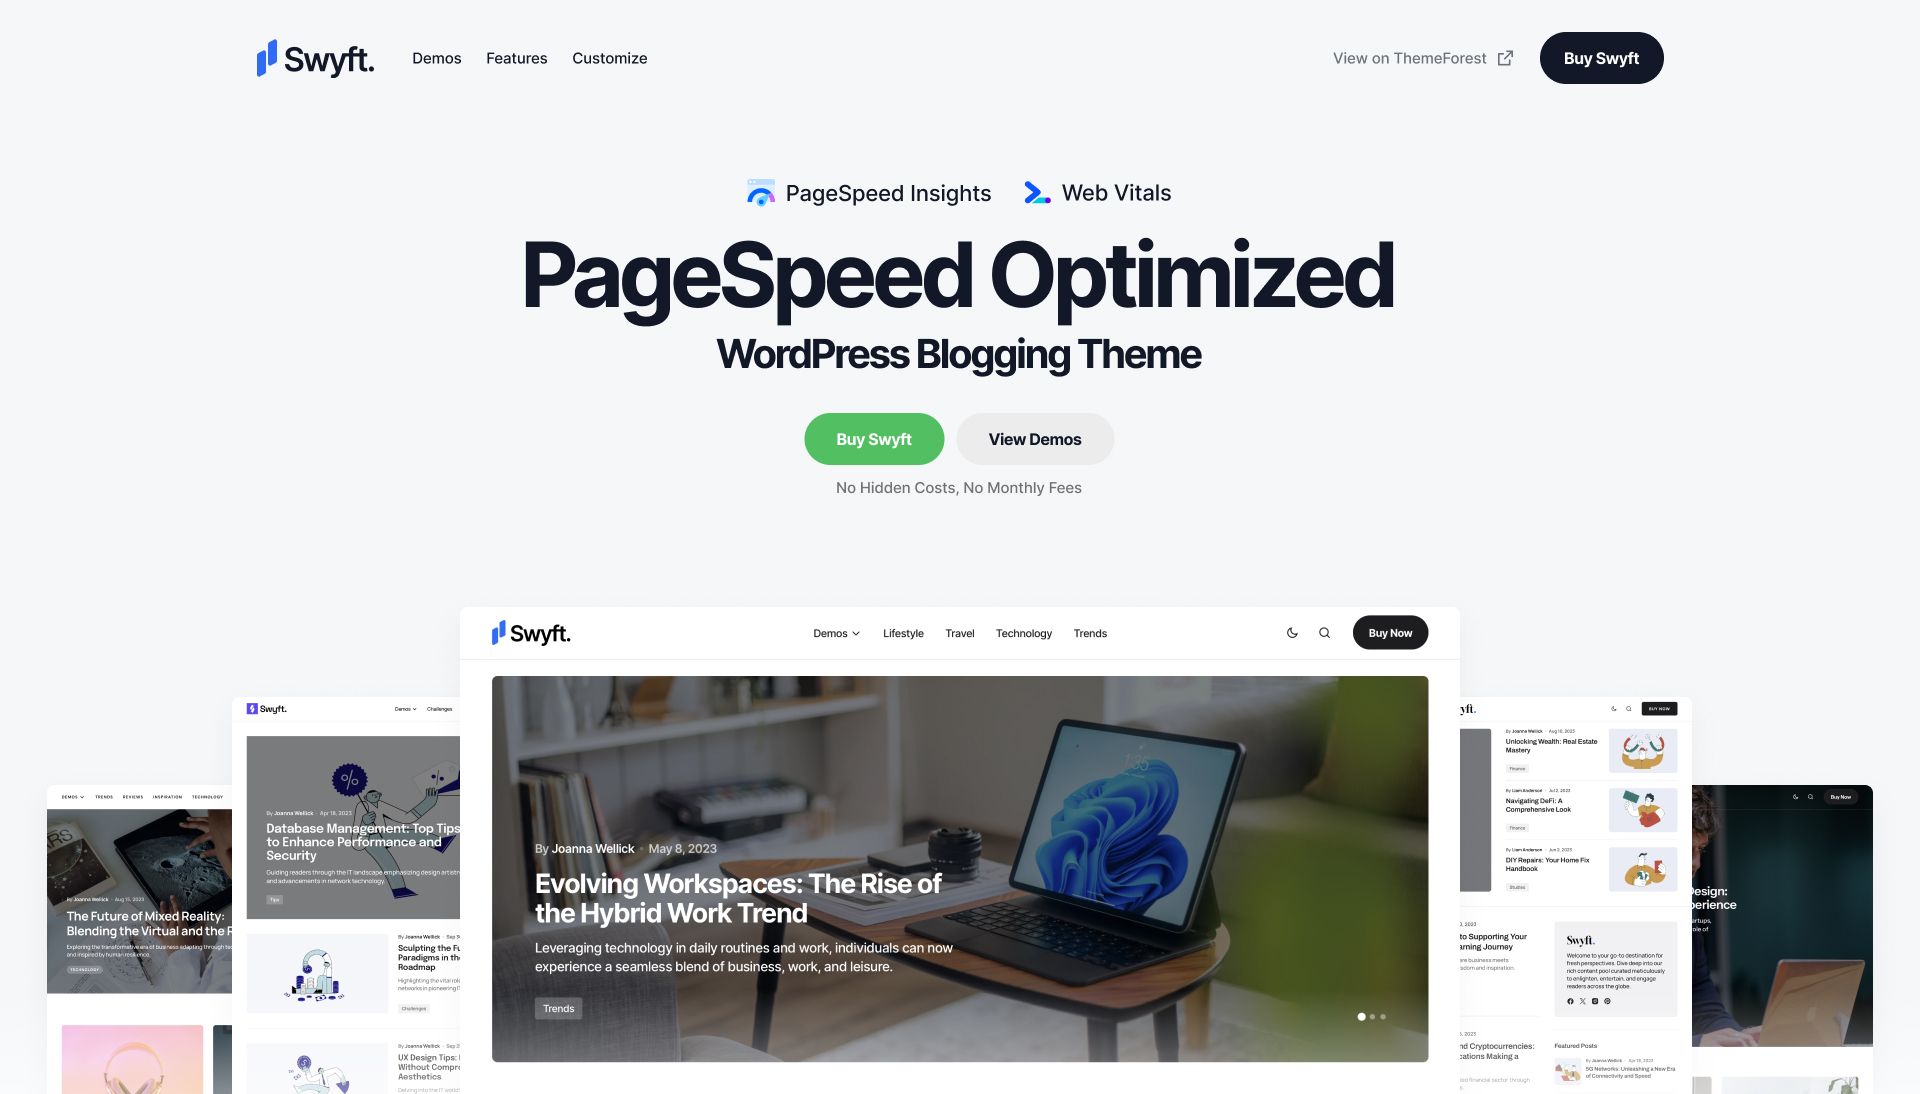
Swyft
A well-chosen theme not only enhances your site’s aesthetics but also plays a crucial role in optimizing loading times and overall user experience. There are dozens of minimalist and business WordPress themes out there in the WordPress repository, So the choice is rather tough.
Introducing Swyft, a WordPress theme that's a perfect blend of speed and user-friendliness. Designed with the modern website's needs in mind, Swyft is ideal for those looking to speed up WordPress sites while maintaining ease of use. It's particularly suited for website owners and developers who prioritize quick loading times and seamless user experience, essential for better search engine rankings and user engagement.
Swyft distinguishes itself by being fine-tuned to meet the critical Core Web Vitals standards, ensuring it not only performs well in Google PageSpeed Insights but also contributes positively to your site's SEO efforts. This focus on performance metrics makes Swyft a reliable choice for anyone serious about WordPress speed optimization.
But what truly sets Swyft apart is its user-centric design. The theme does away with the complexities of traditional page builders, offering a straightforward and intuitive way to customize your site. Whether it's adjusting layouts, managing sidebars, or selecting post types, Swyft allows for quick and easy modifications, freeing you to focus more on content creation and less on technical configurations.
Swyft is the ideal solution for anyone from individual bloggers to businesses, seeking a balance between WordPress performance optimization and user-friendly design.
Why Use Swyft to Speed Up Your WordPress Website?
Using Swyft to speed up WordPress website is a practical decision that can significantly impact your site's performance and user experience. Swyft is designed with a focus on speed, optimizing loading times crucial for improving SEO rankings and user engagement. It adheres to Core Web Vitals standards, which is essential for achieving higher search engine rankings and offering a superior user experience. Additionally, Swyft's simplicity allows for easy customization without the need for complex page builders, facilitating efficient content management and layout adjustments.
Swyft’s simplicity means you spend less time on technical setups and more on what matters – your content.
However, even with Swyft's efficient design, it's essential to remember that how you customize your site also impacts performance. Here are some general rules to keep in mind:
- Use Headings Wisely: Swyft uses one H1 heading per page for the main title. Stick to this structure as multiple H1s can confuse search engines and users.
- Balance Text and Headings: While H2, H3, and other headings help organize content, they should not overpower your text. A good rule of thumb is to have more substantive content than headings.
- Maintain Heading Hierarchy: Always use headings in the correct order (H2s followed by H3s, etc.). Incorrect hierarchy can affect your PageSpeed score and make content harder to follow.
Adhering to these guidelines ensures that your use of Swyft maximizes your WordPress site's speed and performance. Remember, a theme like Swyft sets the stage, but how you build upon it determines your site's success in WordPress page speed optimization.
How to Install WordPress Theme Swyft
Installing the Swyft WordPress theme to speed up WordPress website is a straightforward process. Follow this step-by-step guide to get Swyft up and running on your website:
Step 1: Log in to Your WordPress Dashboard
Open your web browser and navigate to your WordPress website. Log in to your WordPress account by entering your username and password. Once logged in, you'll be directed to the WordPress Dashboard, your central hub for managing your site.
Step 2: Access the Theme Section
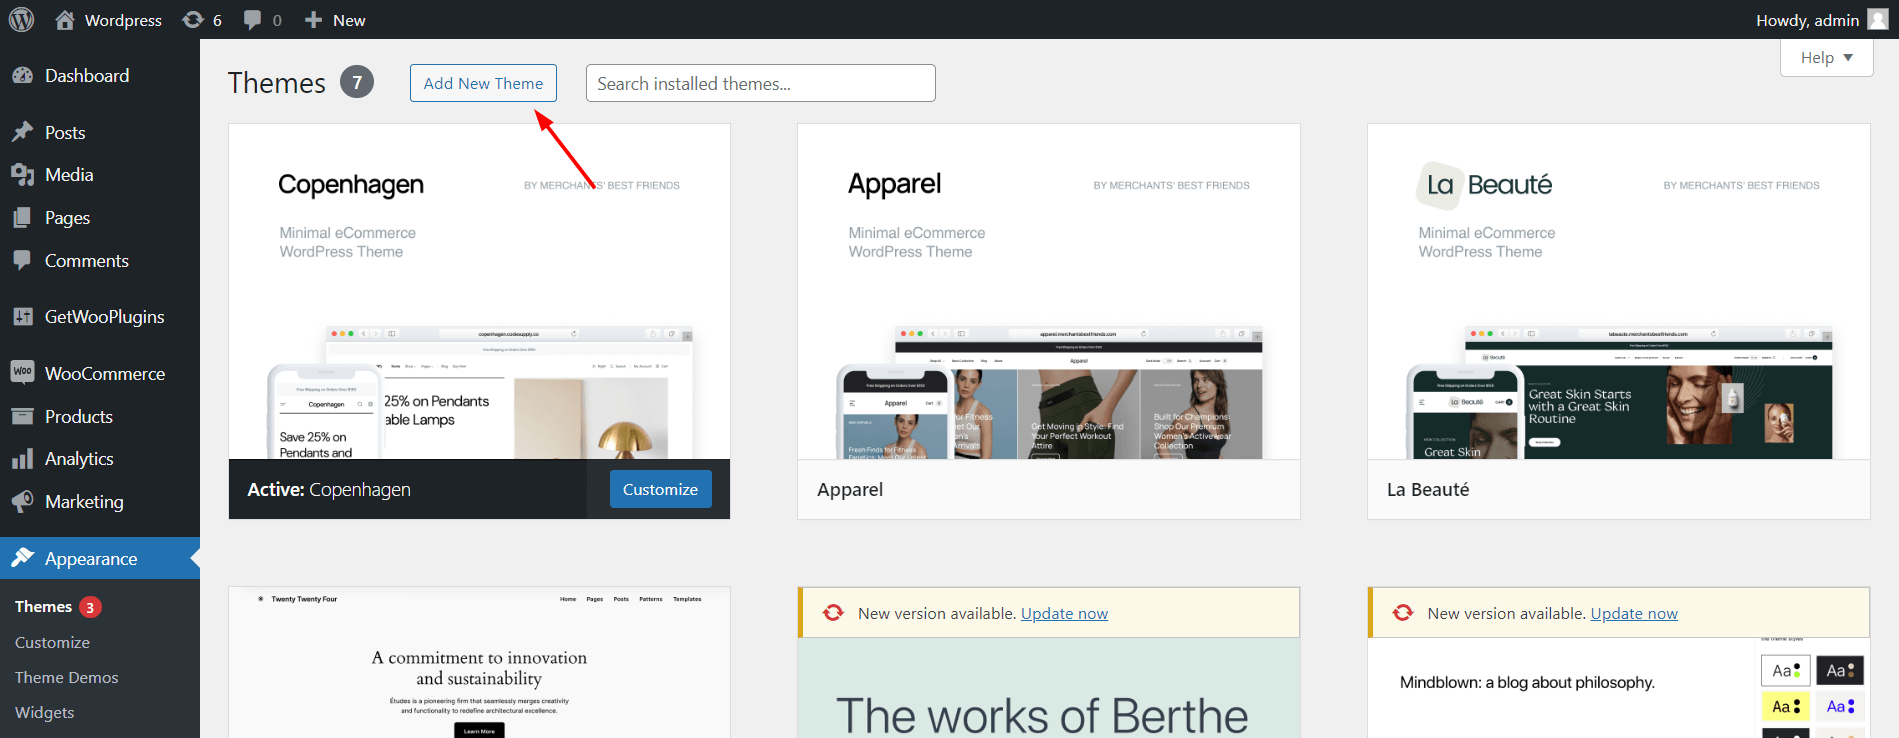
On the left-hand side of your WordPress Dashboard, you’ll find a menu. Look for the "Appearance" option.
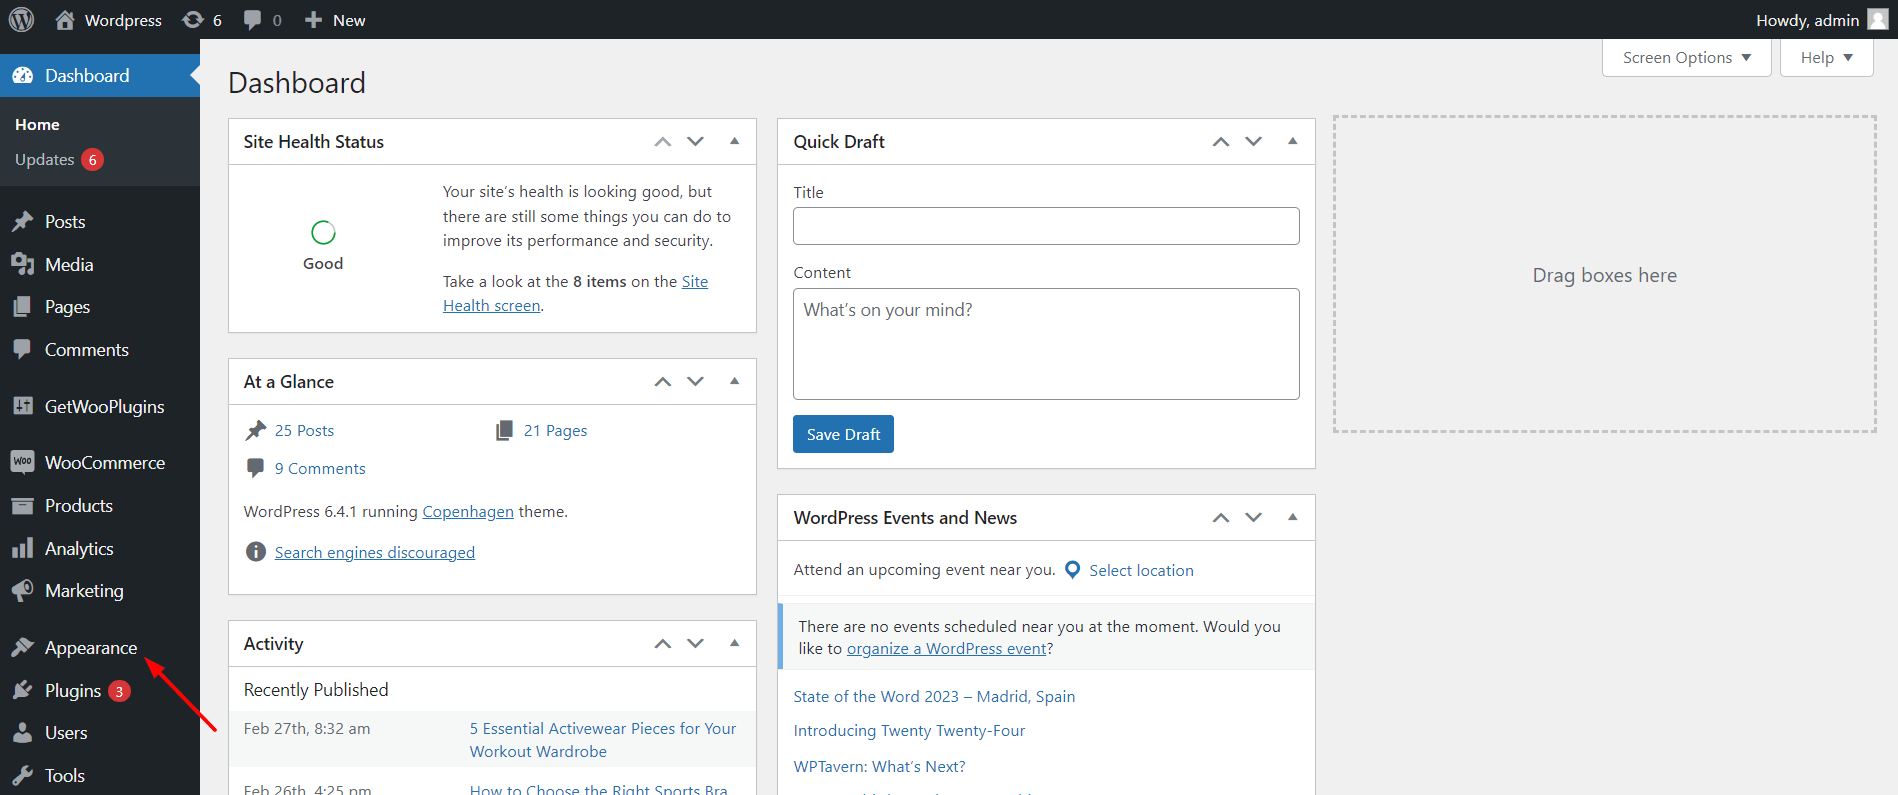
Hover over "Appearance," and a submenu will appear.
Step 3: Click on “Themes”
In the submenu under "Appearance," click on "Themes." This will take you to the themes section where you can manage your existing themes and add new ones.
Step 4: Add New Theme
At the top of the themes page, you'll see an “Add New” button. Click on this button to start the process of adding a new theme.
Step 5: Upload the Theme
Click on 'Choose File' and navigate to the .zip file of the Swyft theme that you downloaded from ThemeForest. Select the file and click 'Open'. Then, click on the 'Install Now' button to start the installation process.
Step 6: Activate the Theme
After the installation is complete, you will see a success message with a link to 'Activate' the theme. Click on it. Swyft theme will now be active on your WordPress site.
Congratulations, you have successfully installed and activated the Swyft theme on your WordPress site! You can now start customizing the theme to suit your preferences and needs.
3. Use Faster Plugins to Speed Up Your WordPress Website
When you want to speed up WordPress website, one of the smartest moves you can make is choosing the right plugins. As website owners, developers, and digital marketers, we often focus on selecting the perfect minimalist WordPress themes or crafting the most engaging content. However, the plugins we choose play a pivotal role in our site's WordPress speed optimization.
Now, you might think all plugins are created equal, but that's not quite the case. Some plugins are speed demons, helping your site fly; others can slow your site down. That's why it's crucial to pick plugins that are known for their performance and efficiency in speed up WordPress site. We're here to guide you through the process of selecting faster, more efficient WordPress plugins.
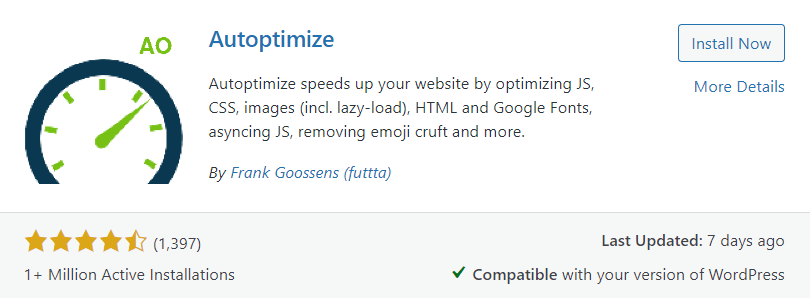
1. Autoptimize

Autoptimize
Autoptimize is a highly effective plugin designed to enhance the speed of your WordPress website. It achieves this by optimizing key elements like CSS, JavaScript, guide on images, and Google Fonts. This optimization is crucial for reducing load times, which is a significant factor in improving both user experience and SEO rankings.
Autoptimize excels in its ability to streamline and efficiently compress website elements. Its compatibility with a wide range of WordPress themes, from minimalist to business-oriented, makes it a versatile choice for any website looking to boost performance.
Once you've installed Autoptimize, configuring it correctly is essential to maximize your WordPress performance optimization. Here's a practical guide to setting up Autoptimize using the configurations shown in the screenshots provided.
How to Install Autoptimize to Speed Up Your WordPress Website
The installation process of Autoptimize is user-friendly and can be completed in a few simple steps:
Step 1: Access the Plugin Section
Log into your WordPress dashboard. Navigate to the 'Plugins' section on the left-hand menu.
Step 2: Click on “Add New”
On the Plugins page, click the “Add New” button at the top.
Step 3: Search for Autoptimize
In the 'Add Plugins' section, use the search bar to find "Autoptimize." Autoptimize should appear in the search results.
Step 4: Install the Plugin
Click the 'Install Now' button next to the Autoptimize plugin. Wait for the installation process to complete.
Step 5: Set Proper Configurations
Once you've installed Autoptimize, configuring it correctly is essential to maximize your WordPress website's performance. Here's a practical guide to setting up Autoptimize using the configurations shown in the screenshots provided.
It's important to note that our article exclusively addresses modifications within the 'JS, CSS & HTML' tab, though users with expertise may independently adjust settings in other tab
JavaScript Options:
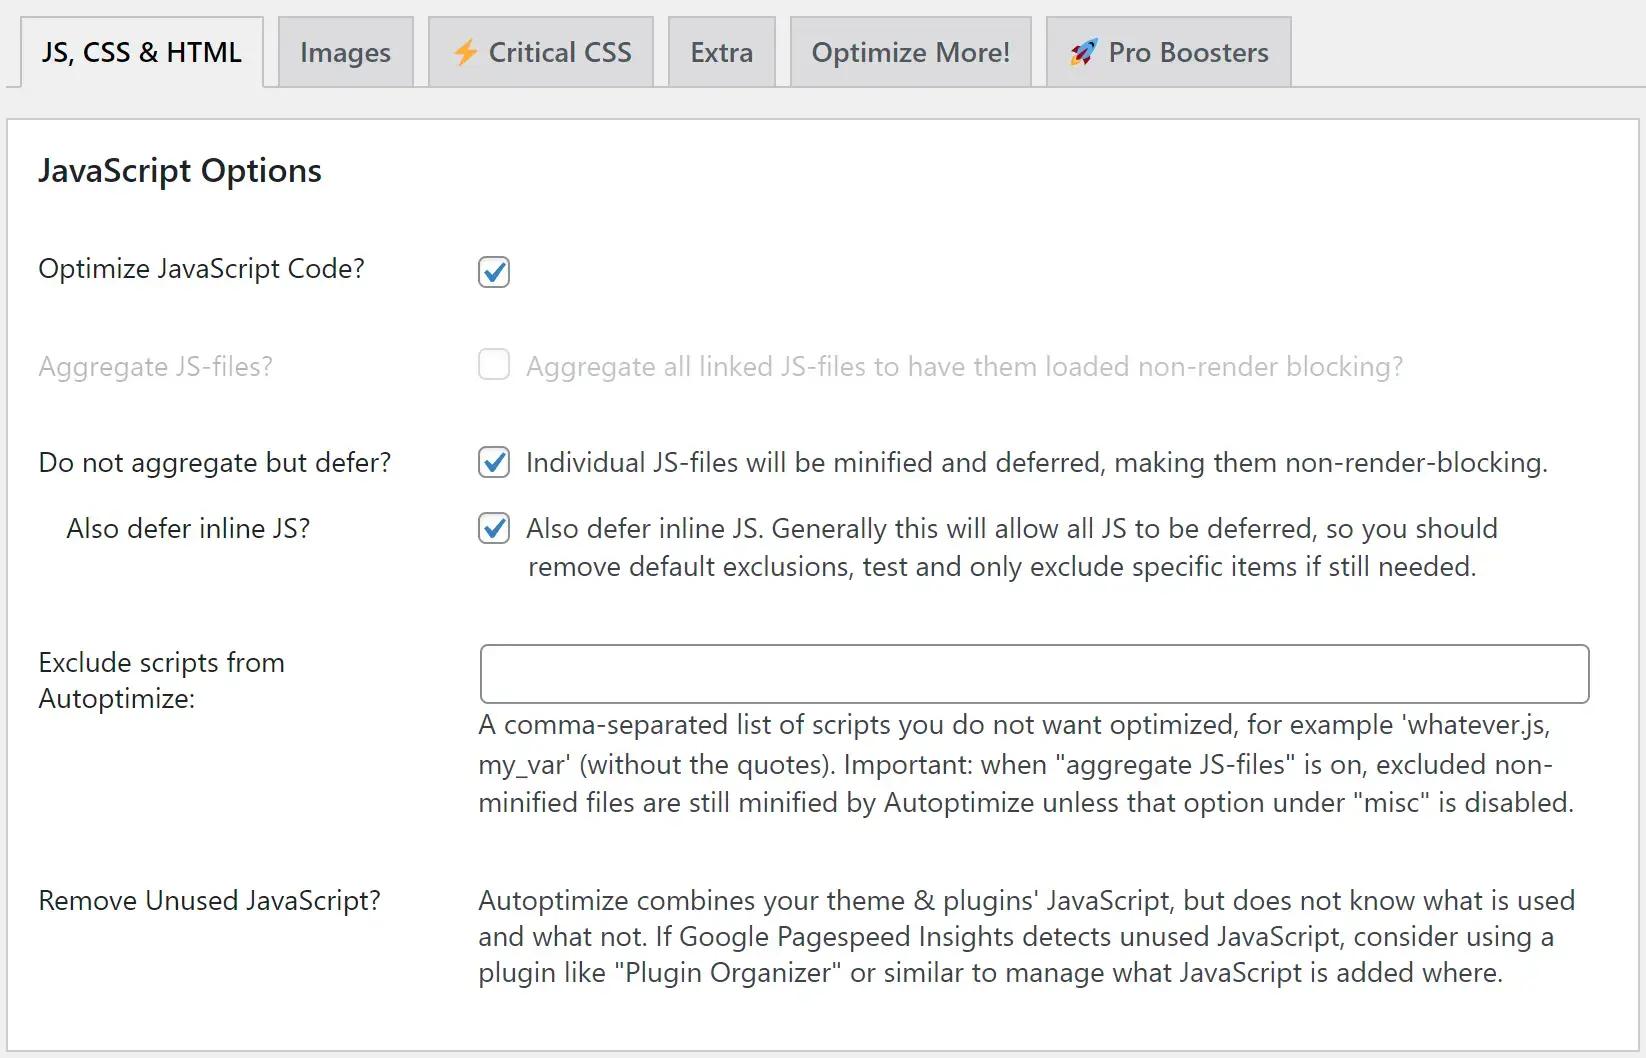
- Optimize JavaScript Code: Check this to enable JavaScript optimization.
- Aggregate JS-files: Aggregating JS files can help reduce HTTP requests but test carefully to ensure it doesn't break site functionality.
- Defer Aggregated JS: Deferring non-critical JavaScript files can improve load times by reducing render-blocking resources.
CSS Options:
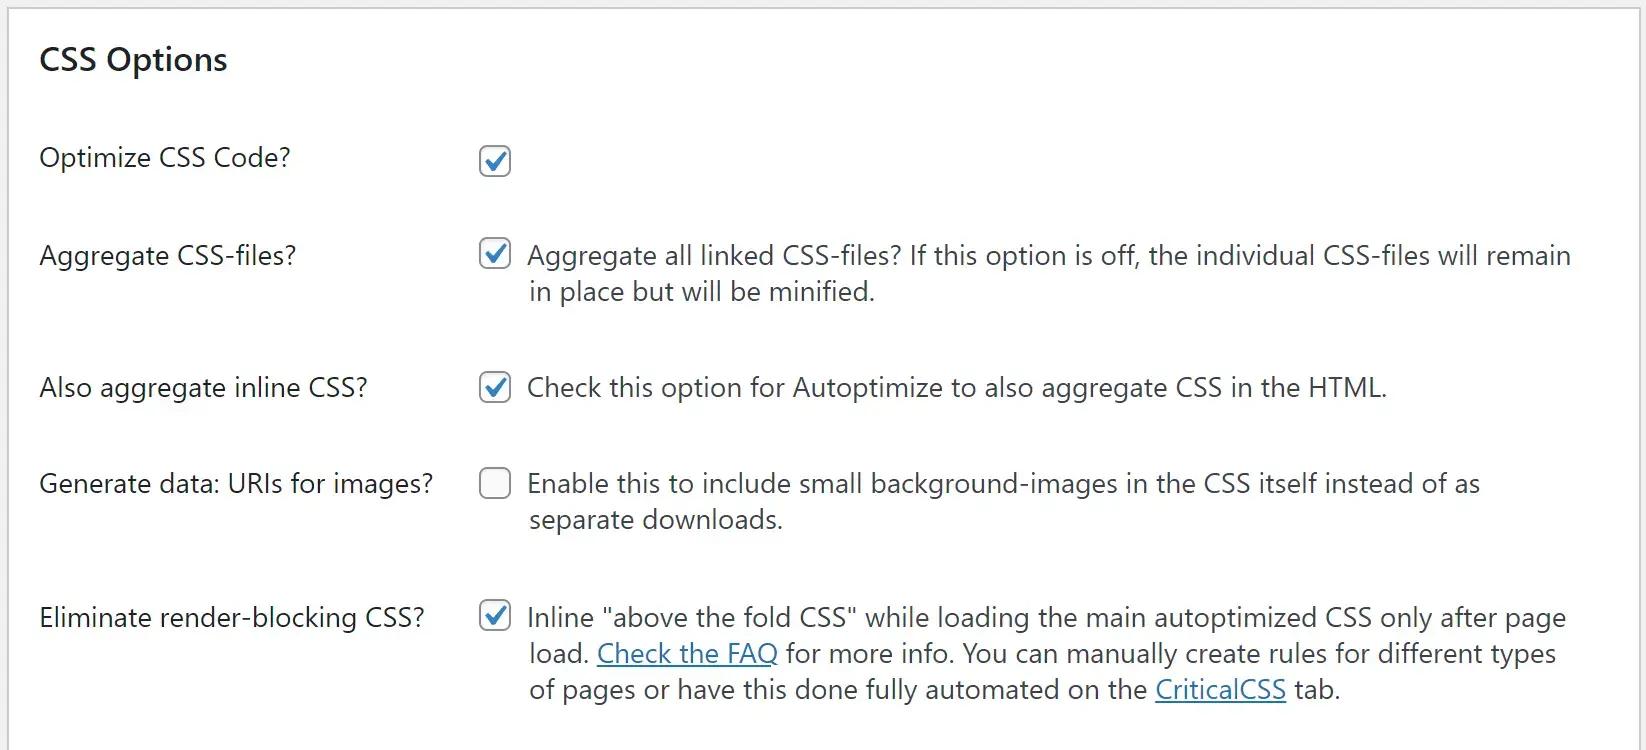
- Optimize CSS Code: Ensure this is checked to activate CSS optimization.
- Aggregate CSS-files: This option combines all linked CSS files to reduce HTTP requests.
- Also Aggregate Inline CSS: Checking this allows the aggregation of inline CSS.
- Eliminate Render-Blocking CSS: Inline critical "above the fold" CSS to optimize the rendering path.
HTML Options:
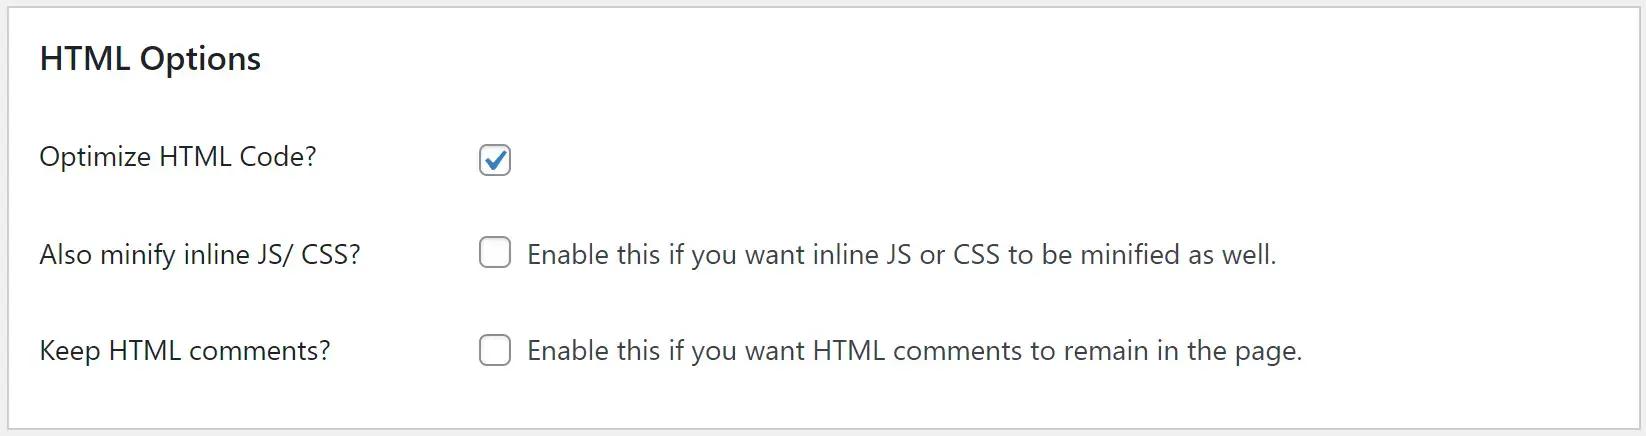
- Optimize HTML Code: This should be checked to enable HTML code optimization, which includes minifying HTML and reducing file size.
CDN Options:
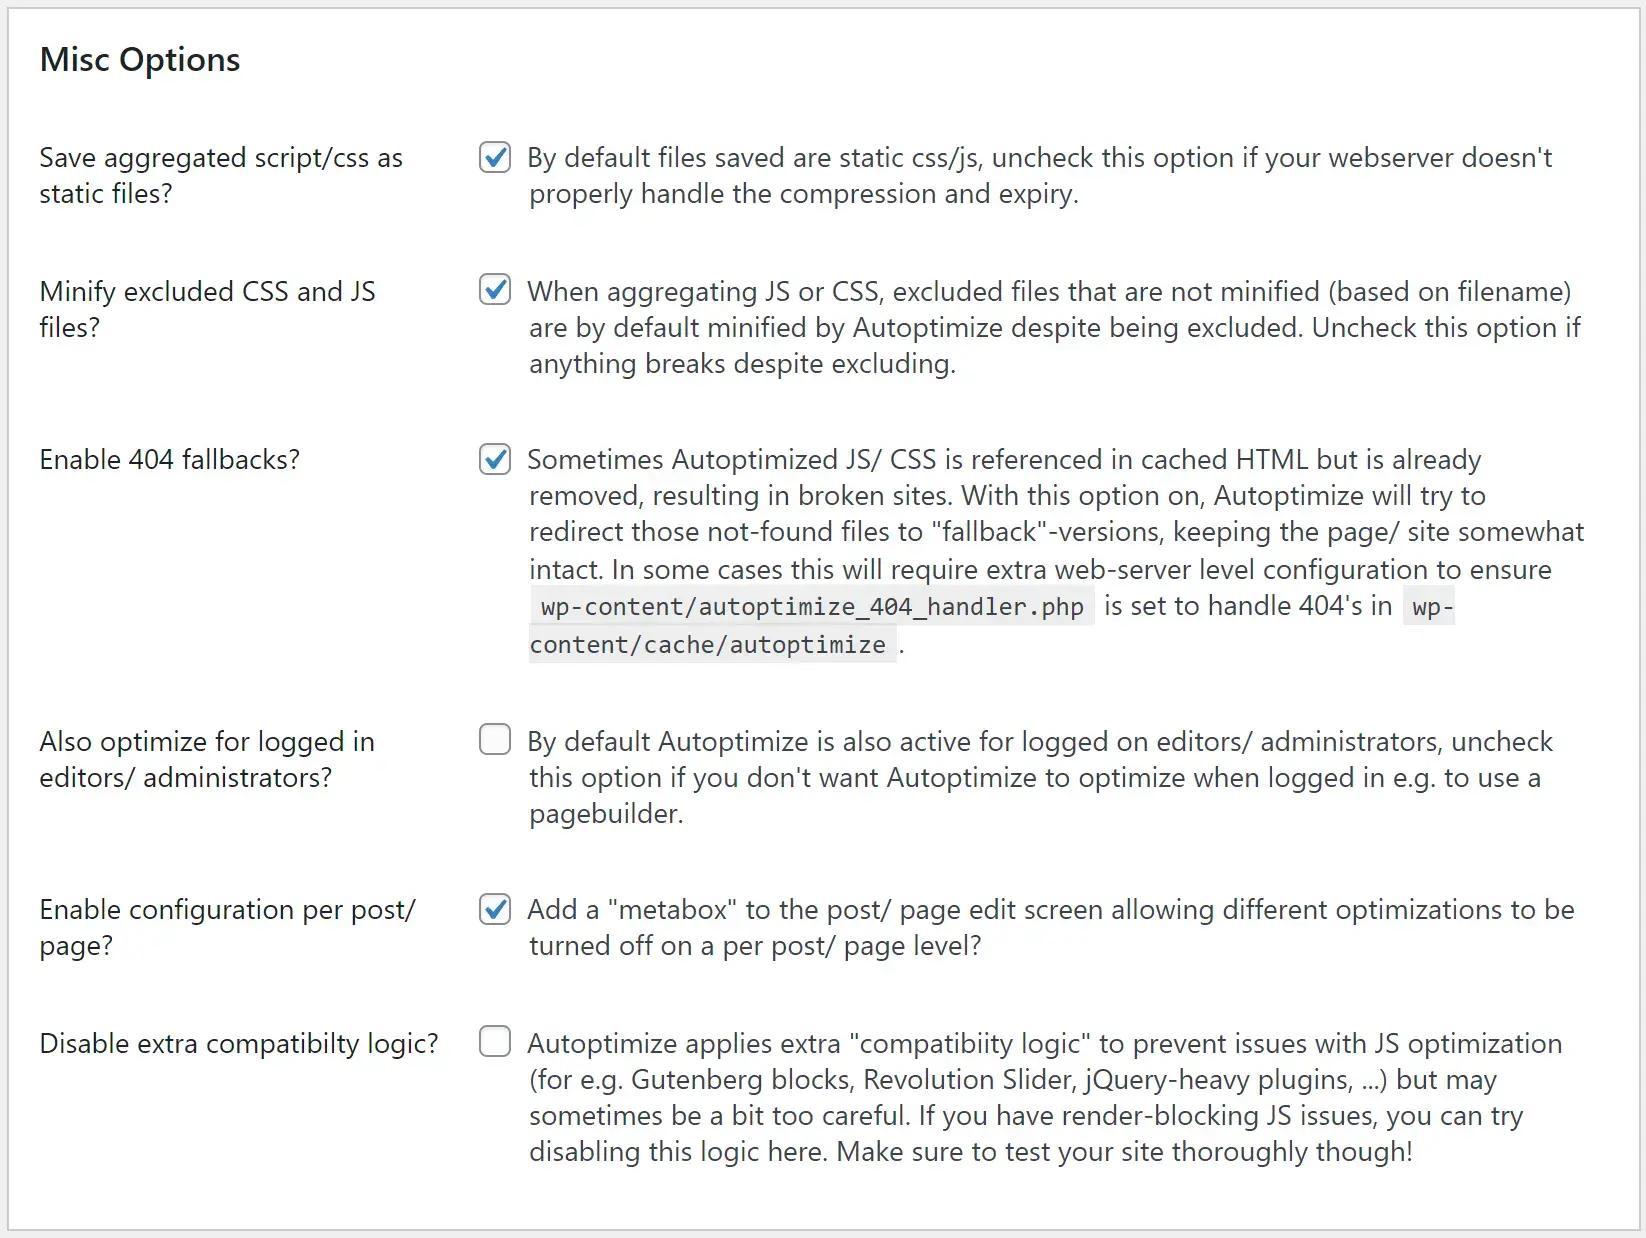
Remember, after configuring these settings, it's a good practice to test your website's front-end to ensure everything loads correctly and your site's functionality remains intact. Additionally, keep an eye on your PageSpeed Insights score to gauge the improvements in site performance.
Step 6: Activate the Plugin
Once you have configured all settings as needed, scroll to the bottom of the page. Look for a 'Save Changes and Empty Cache' button, which may be present depending on your settings.
Click this button to save your configuration changes. Autoptimize will now begin optimizing your website's code based on the settings you've chosen, helping to speed up WordPress.
Make sure to clear your site's cache if you're using a caching plugin or service. Then, visit your website to ensure that everything is loading as expected. You can monitor the performance improvements by checking your website's loading speed before and after the plugin activation using tools like Google PageSpeed Insights or GTmetrix.
2. OMGF
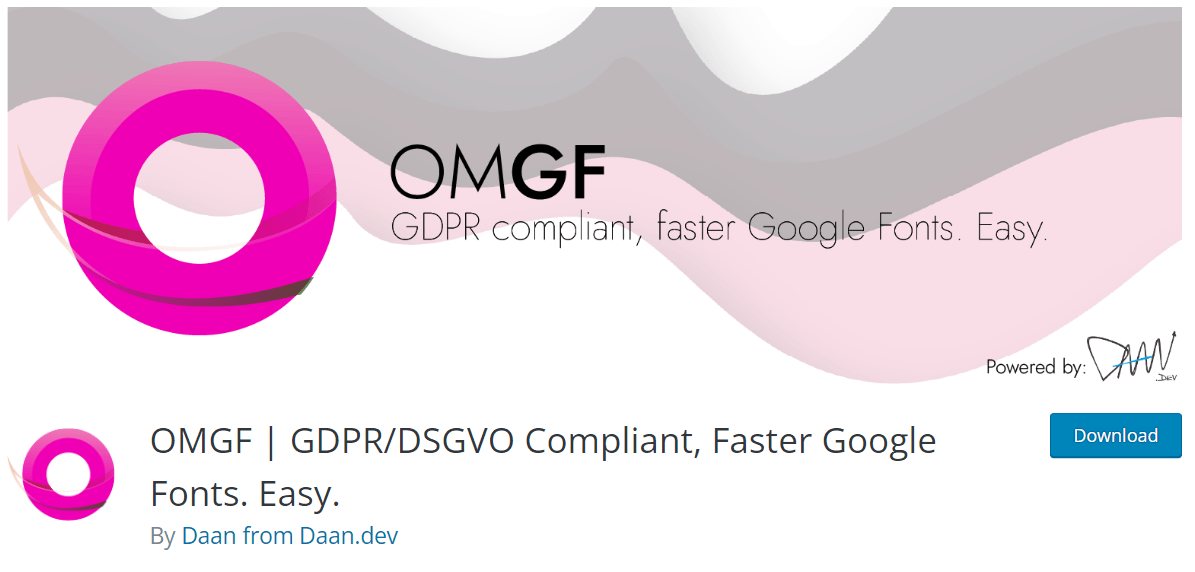
OMGF (Optimize My Google Fonts) is a WordPress plugin designed to optimize the use of Google Fonts on your website. It helps in increasing GDPR/DSGVO compliance by hosting the Google Fonts locally, which means you're not relying on external servers for font resources, thus enhancing privacy. Additionally, by self-hosting, OMGF allows you to leverage browser caching, which can significantly speed up wordpress website loading times since fonts are stored in the visitor's browser cache after the first visit, eliminating the need to fetch them from an external server on subsequent page loads.
This plugin is particularly useful if you're looking to improve performance scores on tools like Google PageSpeed Insights. It reduces HTTP requests for Google Fonts files and ensures that font styles are loaded in an optimized manner, contributing to faster page rendering and wordpress speed optimization.
How to Install OMGF to Speed Up Your WordPress Website
Step 1: Access the Plugin Section
Log into your WordPress dashboard.
Find the 'Plugins' menu on the left-hand sidebar and click it to open the plugin management area.
Step 2: Click on “Add New”
At the top of the Plugins page, locate and click the “Add New” button to go to the plugin installation section.
Step 3: Search for OMGF
Use the search bar on the 'Add Plugins' page to type in “OMGF” and hit Enter. The OMGF plugin should appear in your search results.
Step 4: Install the Plugin
Next to the OMGF plugin listing, there will be an 'Install Now' button. Click this button to start the plugin installation process. Wait for WordPress to download and install the plugin onto your site.
Step 5: Activate the Plugin
After installation, the 'Install Now' button will change to 'Activate.' Click it to activate “OMGF” plugin on your site.
The plugin needs no further configuration, as the preset settings are enough for font optimization to work.
3. Yoast SEO

Yoast SEO
If you are wondering how to speed up a WordPress site, Yoast SEO is certainly what you need to look at. Yoast SEO is a powerful plugin that extends the capabilities of WordPress by filling some of its gaps, especially in the SEO field. While WordPress is a robust content management system, it lacks certain native functionalities, such as the ability to add meta descriptions to posts and pages. Meta descriptions play a crucial role in SEO benchmarks and are pivotal for search engines when indexing and displaying page snippets in search results. Yoast SEO makes it a breeze to add these crucial details, along with offering a suite of features to fine-tune your website's SEO.
How to Install Yoast SEO to Speed Up Your WordPress Website
Installing Yoast SEO is a straightforward process that can bring substantial SEO benefits to your site and can greatly speed up WordPress site:
Step 1: Access the Plugin Section
Navigate to your WordPress Dashboard after logging in. From the menu on the left, click on 'Plugins' to open the plugin management area.
Step 2: Click on “Add New”
At the top of the Plugins page, you’ll find an “Add New” button. Click this to go to the plugin addition section.
Step 3: Search for Yoast SEO
In the 'Add Plugins' section, use the search bar to type "Yoast SEO" and press Enter to search for the plugin. Yoast SEO should be one of the top results displayed.
Step 4: Install the Plugin
You will see an 'Install Now' button next to the Yoast SEO plugin. Click this button to initiate the installation process on your WordPress site. Wait for the installation to complete, which usually only takes a few moments.
Step 5: Set Proper Configurations
Configuring Yoast SEO properly can have a significant impact on your website’s usability and SEO performance. Breadcrumbs and meta tags are key components in this configuration. Here’s how to set them up for optimal performance:
- Meta Tags for Posts and Pages
Under 'Settings', select the 'Content Types' tab.
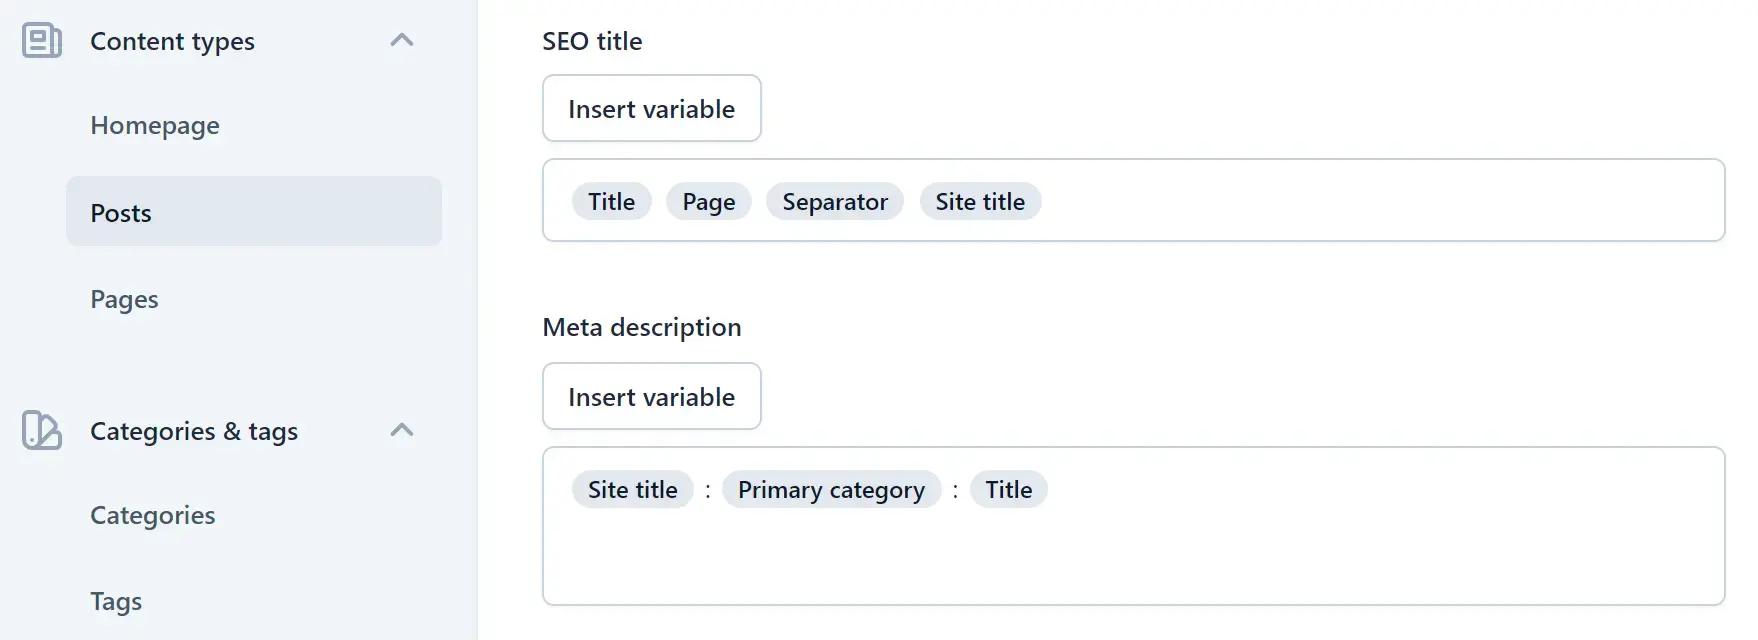
Ensure the 'SEO title' and 'Meta description' templates are set correctly for your posts and pages. Yoast SEO allows you to insert variables that automatically generate titles and descriptions, but you may want to customize these for optimal results.
- Enable Breadcrumbs
In the Yoast SEO dashboard, click on 'Settings'. Navigate to the 'Breadcrumbs' tab.
Customize the breadcrumbs settings according to your preference, including the separator between breadcrumbs and the anchor text for the homepage.
Set appropriate prefixes for different breadcrumb paths to make them more informative and user-friendly.
- Advanced Archive Settings
Go to the 'Advanced' section within 'Search Appearance'.
Here you'll find options for 'Author archives', 'Date archives', and 'Format archives'. Enable these and configure them just as you did for posts and pages to ensure consistency across your site.
After configuring these settings, click on 'Save Changes' at the bottom of the page to apply your new configurations.
Step 6: Activate the Plugin
After you’ve configured all the settings to your liking, navigate back to the main 'Plugins' section of your WordPress dashboard. Locate Yoast SEO in your list of installed plugins and click the ‘Activate’ button.
4. Configuring Website Cache
Configuring your website cache rules can substantially impact website's loading speed. The .htaccess file is a powerful configuration file used by the Apache web server, which allows you to implement server-level tweaks such as file caching rules.
Adding the following code to the .htaccess file can instruct browsers to cache various file types for longer periods, reducing load times for repeat visitors.
<IfModule mod_expires.c>
    ExpiresActive On
    ExpiresByType image/jpg "access plus 1 year"
    ExpiresByType image/jpeg "access plus 1 year"
    ExpiresByType image/png "access plus 1 year"
    ExpiresByType image/gif "access plus 1 year"
    ExpiresByType image/svg+xml "access plus 1 year"
    ExpiresByType image/x-icon "access plus 1 year"
    ExpiresByType image/webp "access plus 1 year"
    ExpiresByType application/javascript "access plus 1 year"
    ExpiresByType text/x-javascript "access plus 1 year"
    ExpiresByType text/css "access plus 1 year"
    ExpiresByType font/woff "access plus 1 year"
    ExpiresByType font/woff2 "access plus 1 year"
    ExpiresByType application/x-shockwave-flash "access 1 month"
    ExpiresByType text/html "access 1 month"
    ExpiresDefault "access 1 month"
</IfModule>
However, .htaccess is not directly editable from the WordPress admin panel due to its location and permissions set on the server level. Here’s how you can modify your .htaccess file:
Option 1: Use Hosting Panel's File Manager
Log into your hosting control panel. Navigate to the 'File Manager' section. Locate the .htaccess file in the root directory of your WordPress installation. Edit the file and insert the caching rules code snippet. Save the changes to apply them.
Option 2: WordPress Plugin
Install a WordPress file management plugin like File Manager that allows editing of server files. Check if the plugin has the necessary permissions to modify the .htaccess file. If permissions are adequate, use the plugin to insert the caching rules. If not, you’ll need to use another method.
Option 3: Contact Tech Support
Reach out to your hosting provider’s technical support team. Request them to add the code to your .htaccess file or set the cache parameters for static files.
Before making any changes to the .htaccess file, ensure you have a backup in case you need to revert to the original settings. Incorrect configurations can result in website downtime or other unintended behavior. Always proceed with caution when editing server configuration files.
4. Optimize Images to Speed Up Your WordPress Site
Optimizing images is a key step if you want to speed up WordPress site. Images can have a huge impact on loading times, so it’s crucial to handle them wisely.
Use Next-Gen Formats
Switching to next-gen image formats like WEBP is a smart move. These formats are designed to provide superior compression and quality characteristics compared to traditional formats like JPEG or PNG. By using WEBP, you can drastically reduce the image file size, which means quicker load times for your pages.
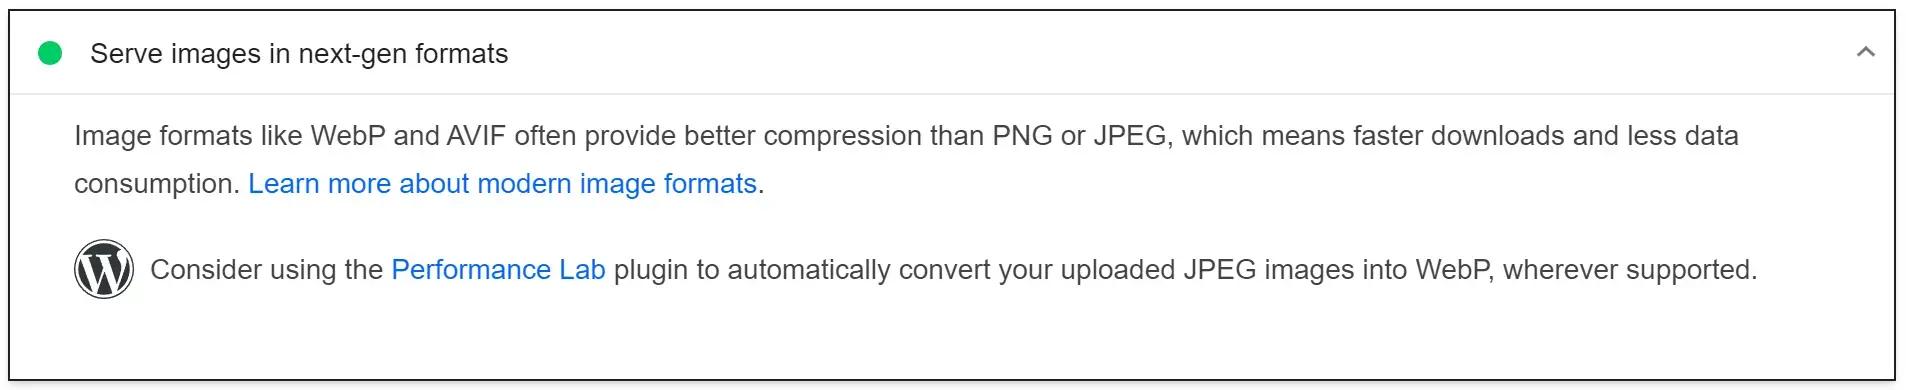
Moreover, tools like Google PageSpeed Insights recognize the use of next-gen formats as a best practice, giving your site a thumbs-up for speed optimization.
Select Proper Image Size
When it comes to image size, bigger isn't always better. It's all about context.
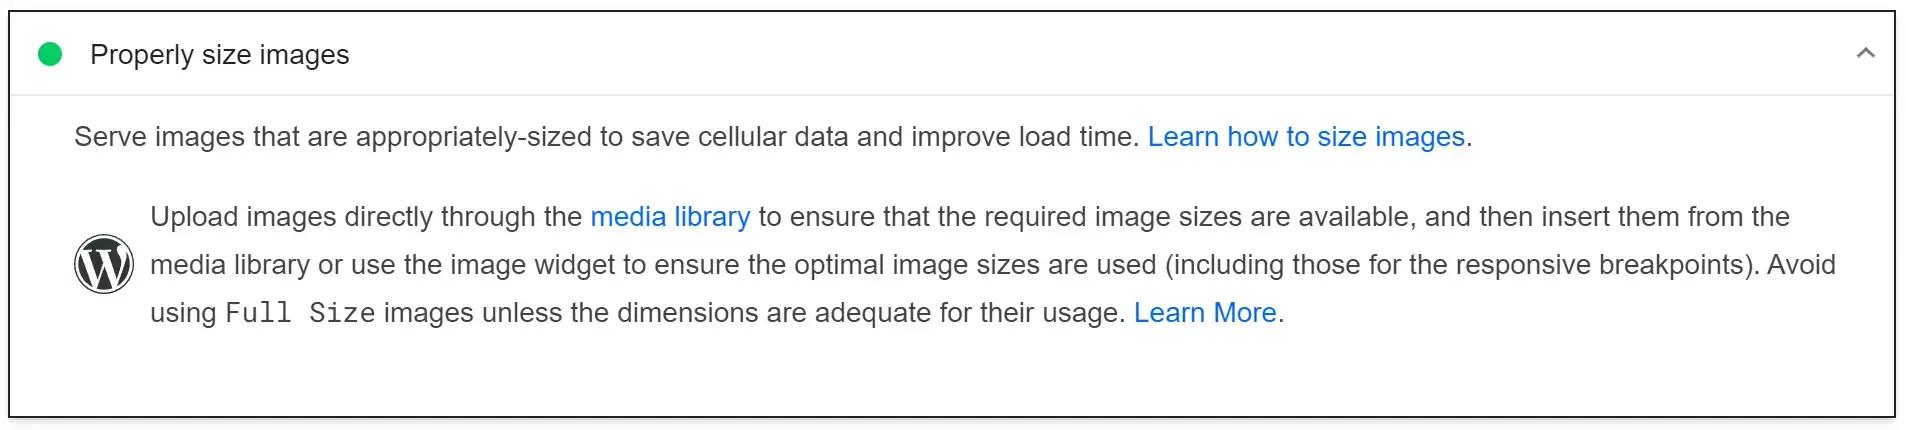
For instance, within the 'Read Next' section of your posts, you won't need full-size images. Using the Swyft theme Customizer, you can specify that this section uses images that are 512px wide. This is a great practice for WordPress speed optimization
This is because they will never need to display larger than this in that particular section. Uploading images that are larger than necessary means longer download times, which can frustrate users and negatively impact your PageSpeed score.
Remember, while WordPress does a stellar job of auto-resizing images to various preset sizes for different areas of your site, sometimes you might have specific customizations in place. In such scenarios, always choose the most appropriate size for the section you're working with. Avoid the temptation to use full-size images when a smaller, correctly sized one will do. The right sizes are usually preset, but it's good practice to double-check if you're making custom changes to your page layouts.
By focusing on these image optimization strategies, you're not just improving loading speeds; you're enhancing the overall user experience, which is key for any site's success. Keep these points in mind, and you'll be on the right track to speed up your WordPress site.
Wrapping Up
As we reach the end of our guide on how to speed up a WordPress site, it's clear that speed is not just a feature, it's a necessity for any successful WordPress site. The strategies and steps we've outlined are your roadmap to a faster, more responsive website. Don't let them just be ideas—make them a reality.
Start by implementing one optimization technique, then another. Tweak, refine, and watch as your site's speed and performance soar. Your visitors will notice the difference and search engines will reward your efforts. The time to act is now—optimize your WordPress site and step into the fast lane of digital success.