Powered by Powerkit
You need to install and activate our free plugin Powerkit to make this feature work.
You may install Powerkit from the list of recommended plugins in Appearance → Install Plugins or from the common plugins page in Plugins → Install Plugins.
Easily integrate Adobe fonts on your site by using the Adobe Fonts module.
Obtain Adobe Fonts Token
First you need to obtain your Adobe Fonts Token:
- Visit Adobe Fonts and log in to your account.
- Go to the Tokens page.
- Copy the Adobe Token to clipboard.
Create Web Project
Then create a Web Project:
- Find a font, that you would like to use.
- Click on Add to Web Project (Kit).
- Either create a new Web Project or use an existing one.
- Make sure that your domain is in the list of allowed domains in Web Project Settings.
- Save your kit settings by clicking Save Settings.
Integrate Typekit
Then follow these steps to add Adobe Fonts to your website.
- First enable the Adobe Fonts module on the Powerkit settings page. Being an advanced module, it’s disabled by default.
- Navigate to Appearance → Fonts → Adobe Fonts.
- Input your Adobe Fonts token and click Save Changes.
- Select the Web Project (Kit) from the select field, that you would like to use on your website.
What’s next?
If you use one of our premium WordPress themes, you will find the fonts from your kit right in the typography fields in Appearance → Customise → Typography:
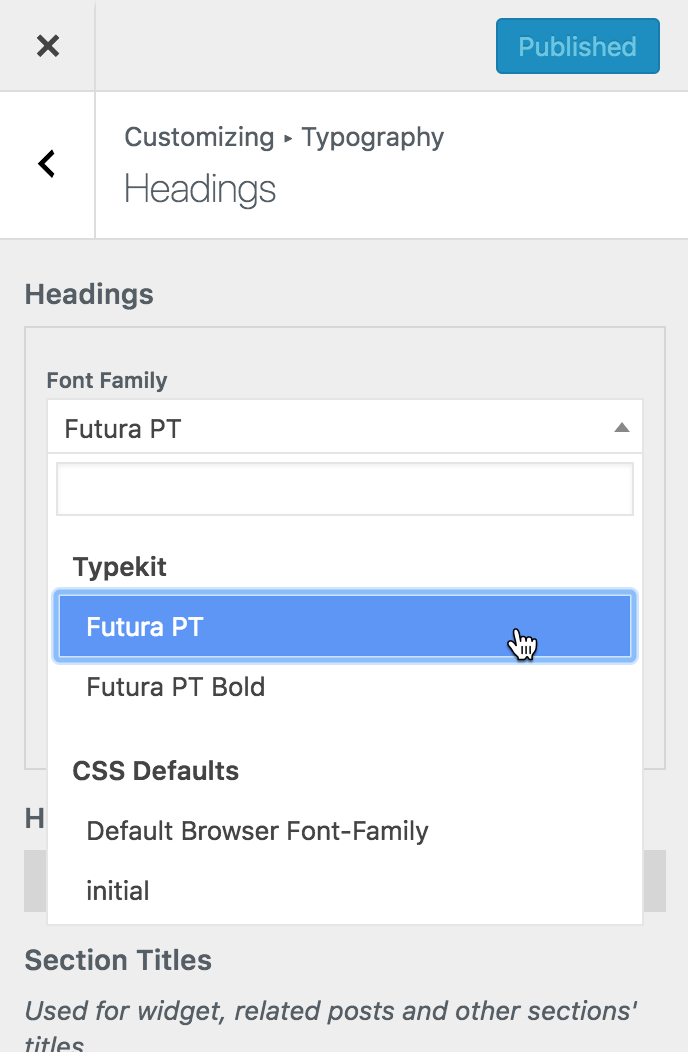
This feature also supports live-preview and allows configuring your fonts without refreshing the browser page.
If you’re using a third-party theme, navigate to Appearance → Fonts → Adobe Fonts and copy the available CSS classes.
Then you may use them in Appearance → Customise → Additional CSS.
Flash of Unstyled Text
To avoid the so-called Flash of Unstyled Text (or, FOUT), primary elements, like headings and menus will be hidden by default, before the font is loaded.
You may control how your font looks before the Adobe Fonts have been fully loaded by applying your own styles to the .wf-loading class. This class is added by the Adobe Fonts module automatically, if the Adobe Fonts Token and Kit fields are not empty. It’s removed from the html element, as soon as the font is loaded.