Creating a social networking site can be a great way to launch or enhance your online business. However, if you’re not a web designer, building this type of website may seem out of reach without the right technical skills.
The good news is that you can easily create a social networking site using WordPress. Once you’ve chosen a web hosting provider, you’ll just need to design your pages and install a social networking plugin. Then, you can easily connect followers with a shared interest and start building a community around your brand.
In this post, we’ll discuss the benefits of creating a social networking site with WordPress, and look at some tools you can use. Then, we’ll show you how to build your social site step-by-step. Let’s dive right in!
The Benefits of Creating a Social Networking Site with WordPress
A social networking site enables users to create profiles. This way, they can connect with friends, have private conversations, or even create groups.
But you might be wondering: What are the advantages of creating a social networking site with WordPress?
For starters, it can help you grow your audience and build a community around your business or personal brand.
Moreover, some users might prefer smaller, more niche networks, as they can connect with people more easily. Plus, a niche social site won’t have as many ads as big social networks.
As an example, a student blogger turned alumni relations specialist could create social networking sites for specific departments:

This could help graduates build professional connections and access resources like job boards.
Alternatively, let’s say a musician runs a blog about their favorite genre. In this scenario, they could create a social site for music lovers with similar interests.
It’s important to note that once you grow or strengthen your follower base or community, you can then convert them into paying customers (like with a premium membership site). Alternatively, you may simply want to monetize your content via affiliate marketing.
Building a social website with WordPress is ideal for a few reasons. The content management system (CMS) is highly user-friendly and doesn’t require any coding knowledge to use:
Plus, building a WordPress site can be super affordable. The software itself is free, and you can customize your website with themes and plugins, many of which are also free. You’ll just need to purchase web hosting and a domain name for your website.
3 Free Social Networking Plugins for WordPress
Before we show you how to create a social networking site with WordPress, we’re going to share three plugins that you can use. All of these tools are available for free.
1. BuddyPress

BuddyPress is one of the most popular plugins for creating a social networking site with WordPress. While it’s somewhat geared towards developers who want lots of customization options, it can also be super straightforward to use if you only need basic features.
When you install BuddyPress, you can give users the ability to create extended profiles, make friend connections, and more. The plugin comes with all the hallmarks you’d expect from a social networking site. This includes activity streams, a private messaging feature, and notifications.
Even better, BuddyPress integrates with free add-ons like BP Attachments, which enables users on your site to create their own media library.
2. bbPress

bbPress is another excellent plugin for creating a social networking site on WordPress. However, it’s not a complete solution like BuddyPress.
That’s because bbPress only gives you the ability to create forums or discussion boards for your users. While this can be a great addition to a social networking site, it might not be enough for your needs.
Still, you can use bbPress with other social networking plugins. For example, it works perfectly with BuddyPress, so you can use the two together if you want to offer your members even more opportunities to chat and connect.
3. PeepSo

If you’re a blogger and you want to create your social network site in just a few clicks, PeepSo might be the right plugin for you. This plugin gives you all the standard social network features like user profiles, a “follow system”, and activity streams.
On top of that, it integrates with reactions and comments on blog posts. It also lets members use hashtags and offers some advanced activity stream features like sorting and filtering.
You can extend the main PeepSo tool, “PeepSo Foundation”, by getting the free PeepSo Bundle. This gives you even more functionality, like media, chat, and friends.
How to Create a Social Networking Site with WordPress (In 3 Steps)
Now that you know the benefits of creating a social networking site with WordPress, and what plugins to use, let’s look at how to get started.
Step 1: Choose a Hosting Provider and Install WordPress
To create a social networking site with WordPress, the first thing you’ll need to do is choose a hosting provider. This is a company that provides you with the resources and server space to make your website available online. Look for one that includes a staging environment, allowing you to test changes safely before going live.
There are a lot of WordPress hosting options out there, but you’ll want to select a scalable solution that can grow with your site. UltaHost offers social media hosting specifically for WordPress:

This makes it an excellent choice if you want the setup process to be as seamless as possible. What’s more, UltaHost offers free automated installation of certain social networking software, including BuddyPress. Plans start as low as $3.29 per month.
After you’ve chosen a hosting plan, you’ll need to install WordPress. Most quality web hosts (including UltaHost) will handle the entire process for you.
Step 2: Select a WordPress Theme and Design Your Site
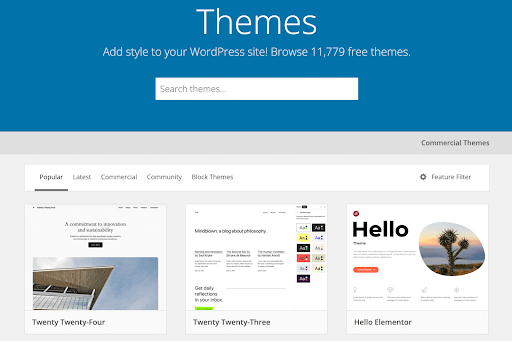
Once your WordPress installation is set up, you’re ready to choose a WordPress theme and design your site. WordPress themes are pre-designed layouts that you can customize to suit your needs.
You’ll find lots of free designs on the WordPress Themes Directory:
Alternatively, you can choose a premium theme such as Once from a marketplace like ThemeForest. This comes with lots of social features, including integration with popular platforms like Facebook and Instagram:

If you choose your theme wisely, you may not have to do much in the way of customization. That’s because lots of themes come with all the essential pages, and their appearance can be easily modified to align with your brand image.
Once you’ve chosen a theme, you can install it on your site and start customizing it. Simply go to Appearance > Customize in your WordPress dashboard.
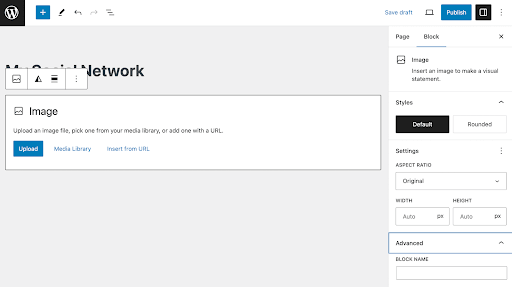
To create new pages, click on Pages > Add New. This launches the Block Editor:
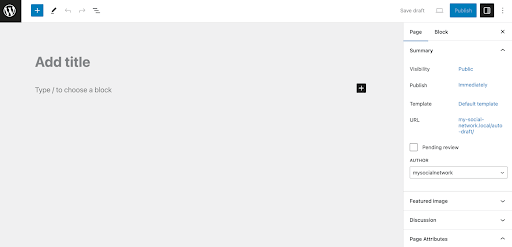
Here, you can create pages entirely from scratch using intuitive blocks. Alternatively, you can build on pre-existing designs that come with your theme.
Click on the plus symbol in the upper left corner of your screen to see your block options:
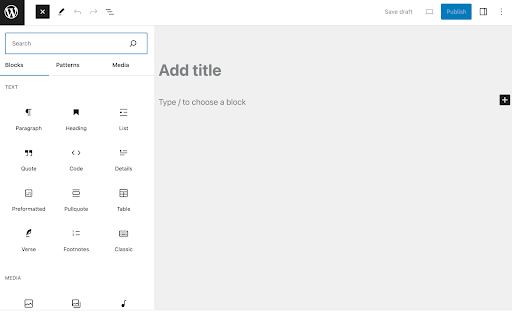
Then, select a block to add it to the page and use its settings to customize it:
If you’ve chosen a block theme, you can also modify every aspect of your website with the Site Editor. This means you’ll be able to customize site-wide elements like headers, footers, and navigation menus.
Step 3: Install and Configure Your Social Networking Plugin
Finally, you’re ready to install and configure your social networking plugin. We’ll be using BuddyPress in this tutorial.
To install BuddyPress, simply go to Plugins > Add New Plugin and search for the plugin:
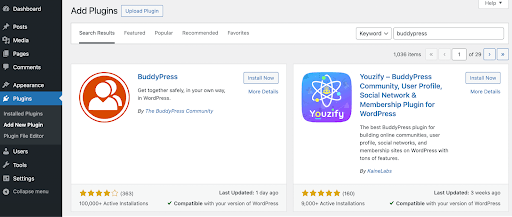
Then, click on Install Now followed by Activate. Now, you can go to Settings > BuddyPress to configure the plugin:
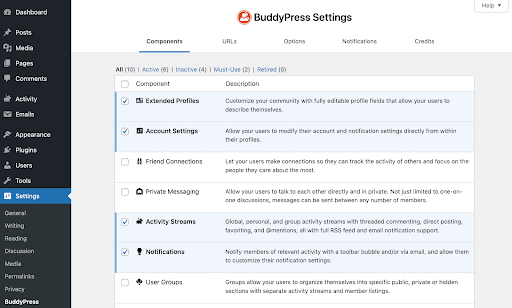
In the Components section, you can enable all the features that you want to include in your social networking site. For instance, you can allow Friend Connections, Private Messaging, and User Groups. When you’re finished, hit Save Settings.
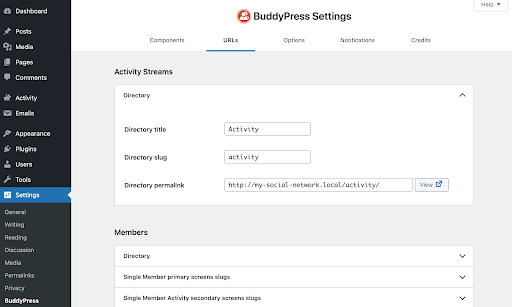
You might also want to explore the rest of your settings. For example, under URLs, you can customize the slugs for your activity streams and other members pages:
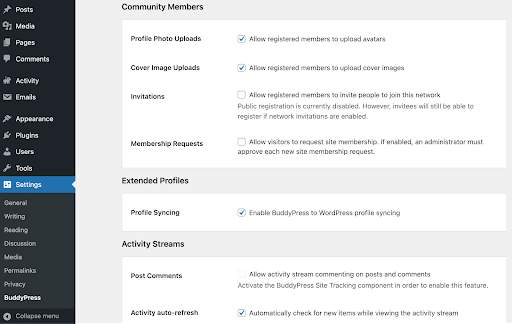
In Options, you can configure important BuddyPress core features and member settings:
Just remember to save your changes as you make them. When you’re finished, you can preview your new social networking site on the front end to make sure everything is working as it should.
Conclusion
No matter the type of blog or online business you run, it could benefit from a complementary social networking site. You can help users with a common goal or interest to connect and share valuable content.
To recap, here’s how you can create a social networking site with WordPress:
- Choose a hosting provider like Ultahost and install WordPress.
- Select a WordPress theme and design your site.
- Install and configure a social networking plugin like BuddyPress.
Do you have any questions about how to create a social networking site with WordPress? Let us know in the comments section below!